Category: Gardening

  • Greenhouse Buying in Britain: What to Know Before You Spend Your Money in 2026

    Greenhouse Buying in Britain: What to Know Before You Spend Your Money in 2026

    A greenhouse is one of those garden purchases that feels simple until you actually start looking. Then suddenly you’re lost in a maze of aluminium extrusions, polycarbonate glazing grades, eaves heights, and base options. I’ve been through this process myself, and I can tell you the decisions that actually matter are far fewer than the marketing brochures suggest. Here’s what you genuinely need to know before buying a greenhouse in the UK in 2026.
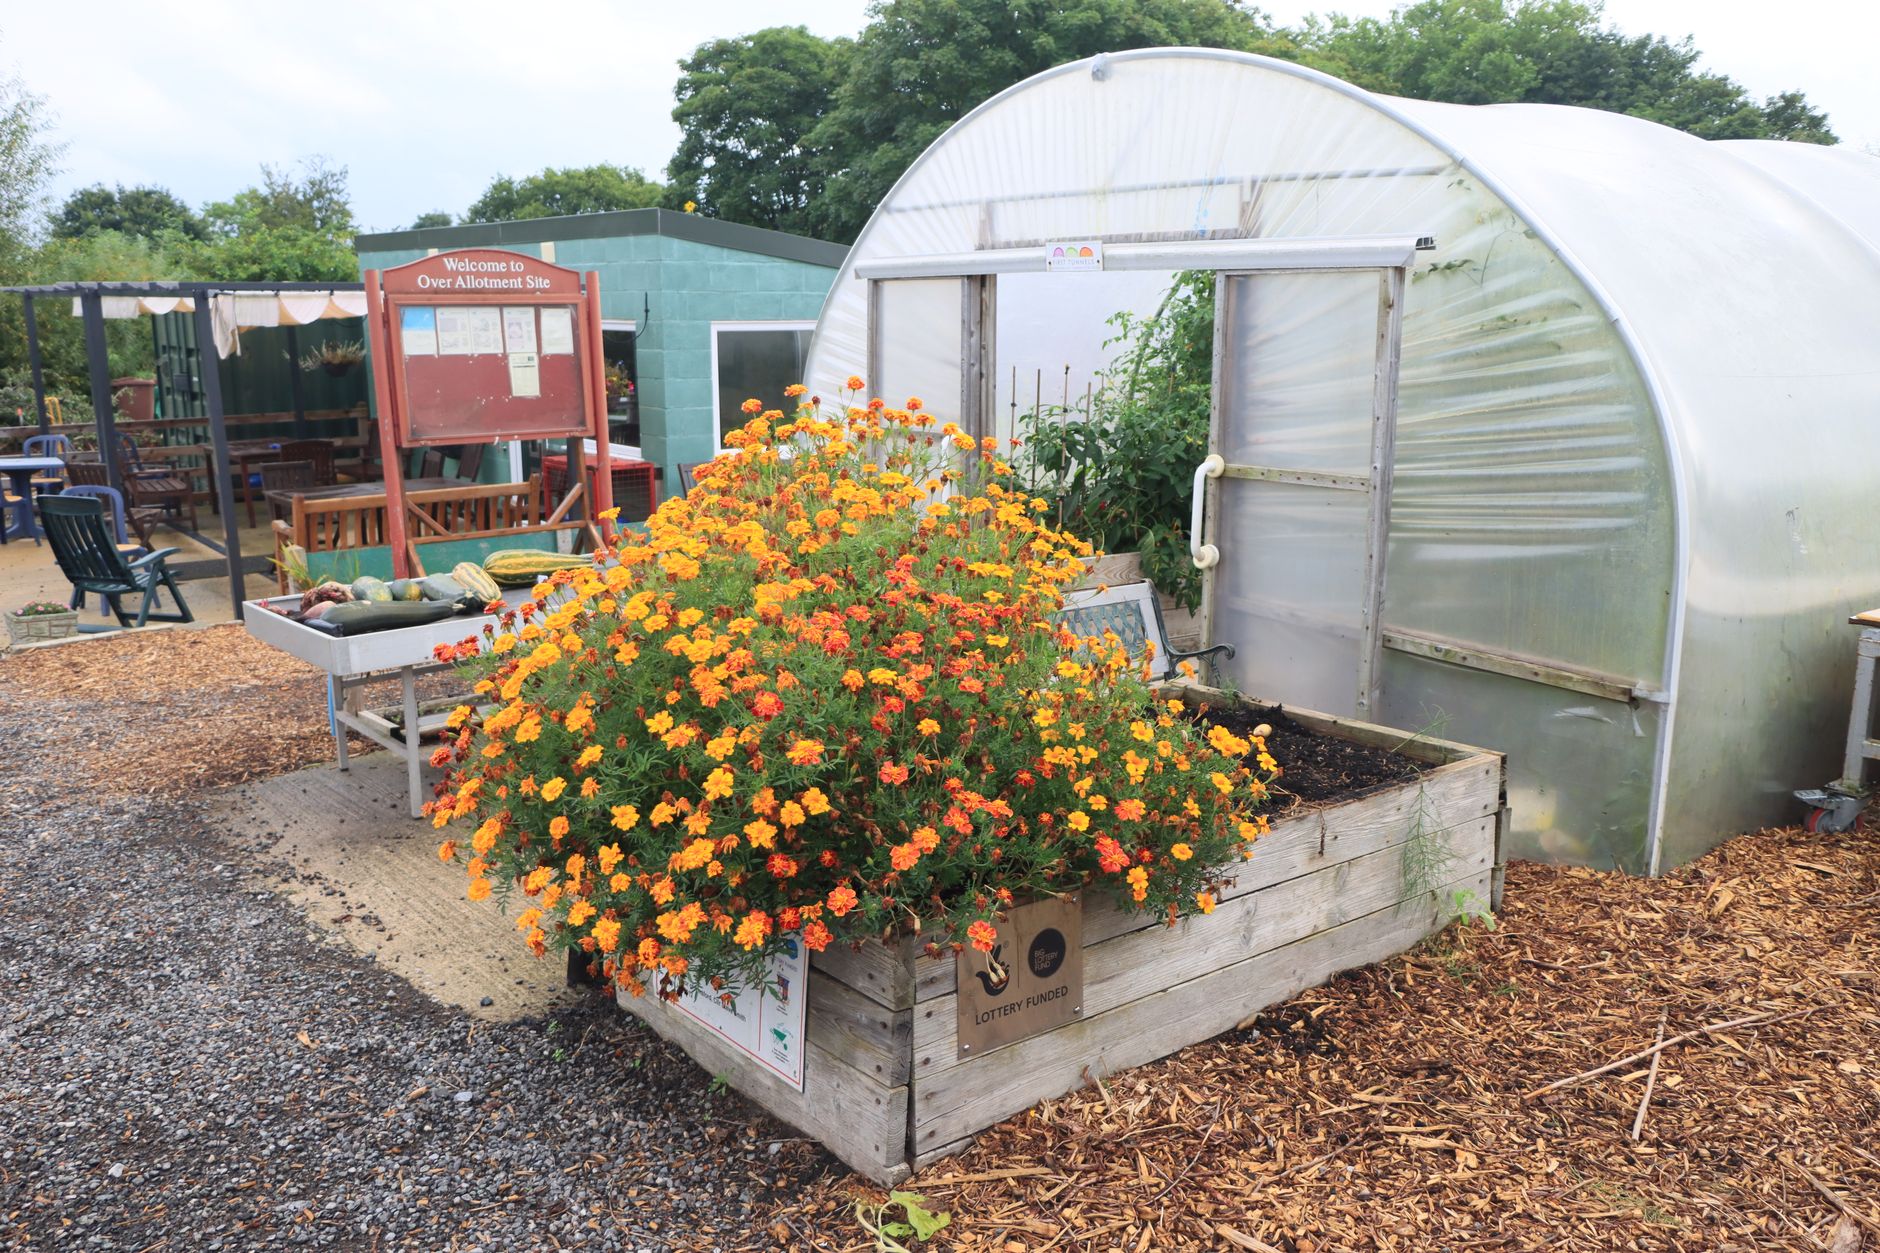
    Aluminium greenhouse in a British garden, relevant to buying a greenhouse UK 2026
    Photo by Jan Wright on Pexels

    Aluminium vs timber: which frame is right for a British garden?

    This is where most people spend too long agonising. Both materials work well. The real question is what you want from the next decade or two.

    Aluminium is low-maintenance, rust-resistant, and holds a clean profile that lets in slightly more light because the glazing bars are narrower. In a country where we already lose plenty of growing days to cloud cover, that matters. Powder-coated aluminium in green or black looks decent in most gardens and won’t rot or warp when the weather turns wet. Prices for a decent 6 x 8ft aluminium greenhouse start around £400 to £600, though quality drops sharply below that bracket.

    Timber, usually western red cedar or treated softwood, has a warmer look that suits period or cottage gardens. It insulates slightly better than bare aluminium because wood conducts heat less readily. The downside is upkeep: you’ll need to treat or oil it every couple of years. Timber greenhouses from reputable suppliers like Hartley Botanic or Griffin Glasshouses sit at a higher price point, often well above £1,500, but they do last for decades when properly maintained.

    My take: for most British gardeners who want something functional and long-lasting without the fuss, powder-coated aluminium is the easier choice. If aesthetics matter and you’re prepared to do the maintenance, timber rewards you.

    Glazing: glass or polycarbonate?

    Horticultural glass is the traditional choice and for good reason. It lets in more light than polycarbonate and doesn’t yellow with UV exposure over time. The knock against it is weight and the risk of breakage, particularly if you have children or if the structure is exposed. Toughened safety glass addresses the breakage concern but adds cost.

    Twin-wall or triple-wall polycarbonate panels are lighter, harder to break, and offer noticeably better heat retention. A 16mm twin-wall panel has a thermal performance roughly equivalent to double-glazed glass. For anyone wanting to extend the growing season into October and November, or start seeds in February, that insulation benefit is real. The downside is reduced light transmission, around 70 to 80 percent versus glass at 90 percent, and the fact that it can scratch and discolour over fifteen to twenty years.

    For a general-purpose greenhouse in most parts of England, glass is still the preferred option among serious growers. In Scotland or exposed northern locations where temperatures are harsher, polycarbonate’s thermal performance becomes more attractive.
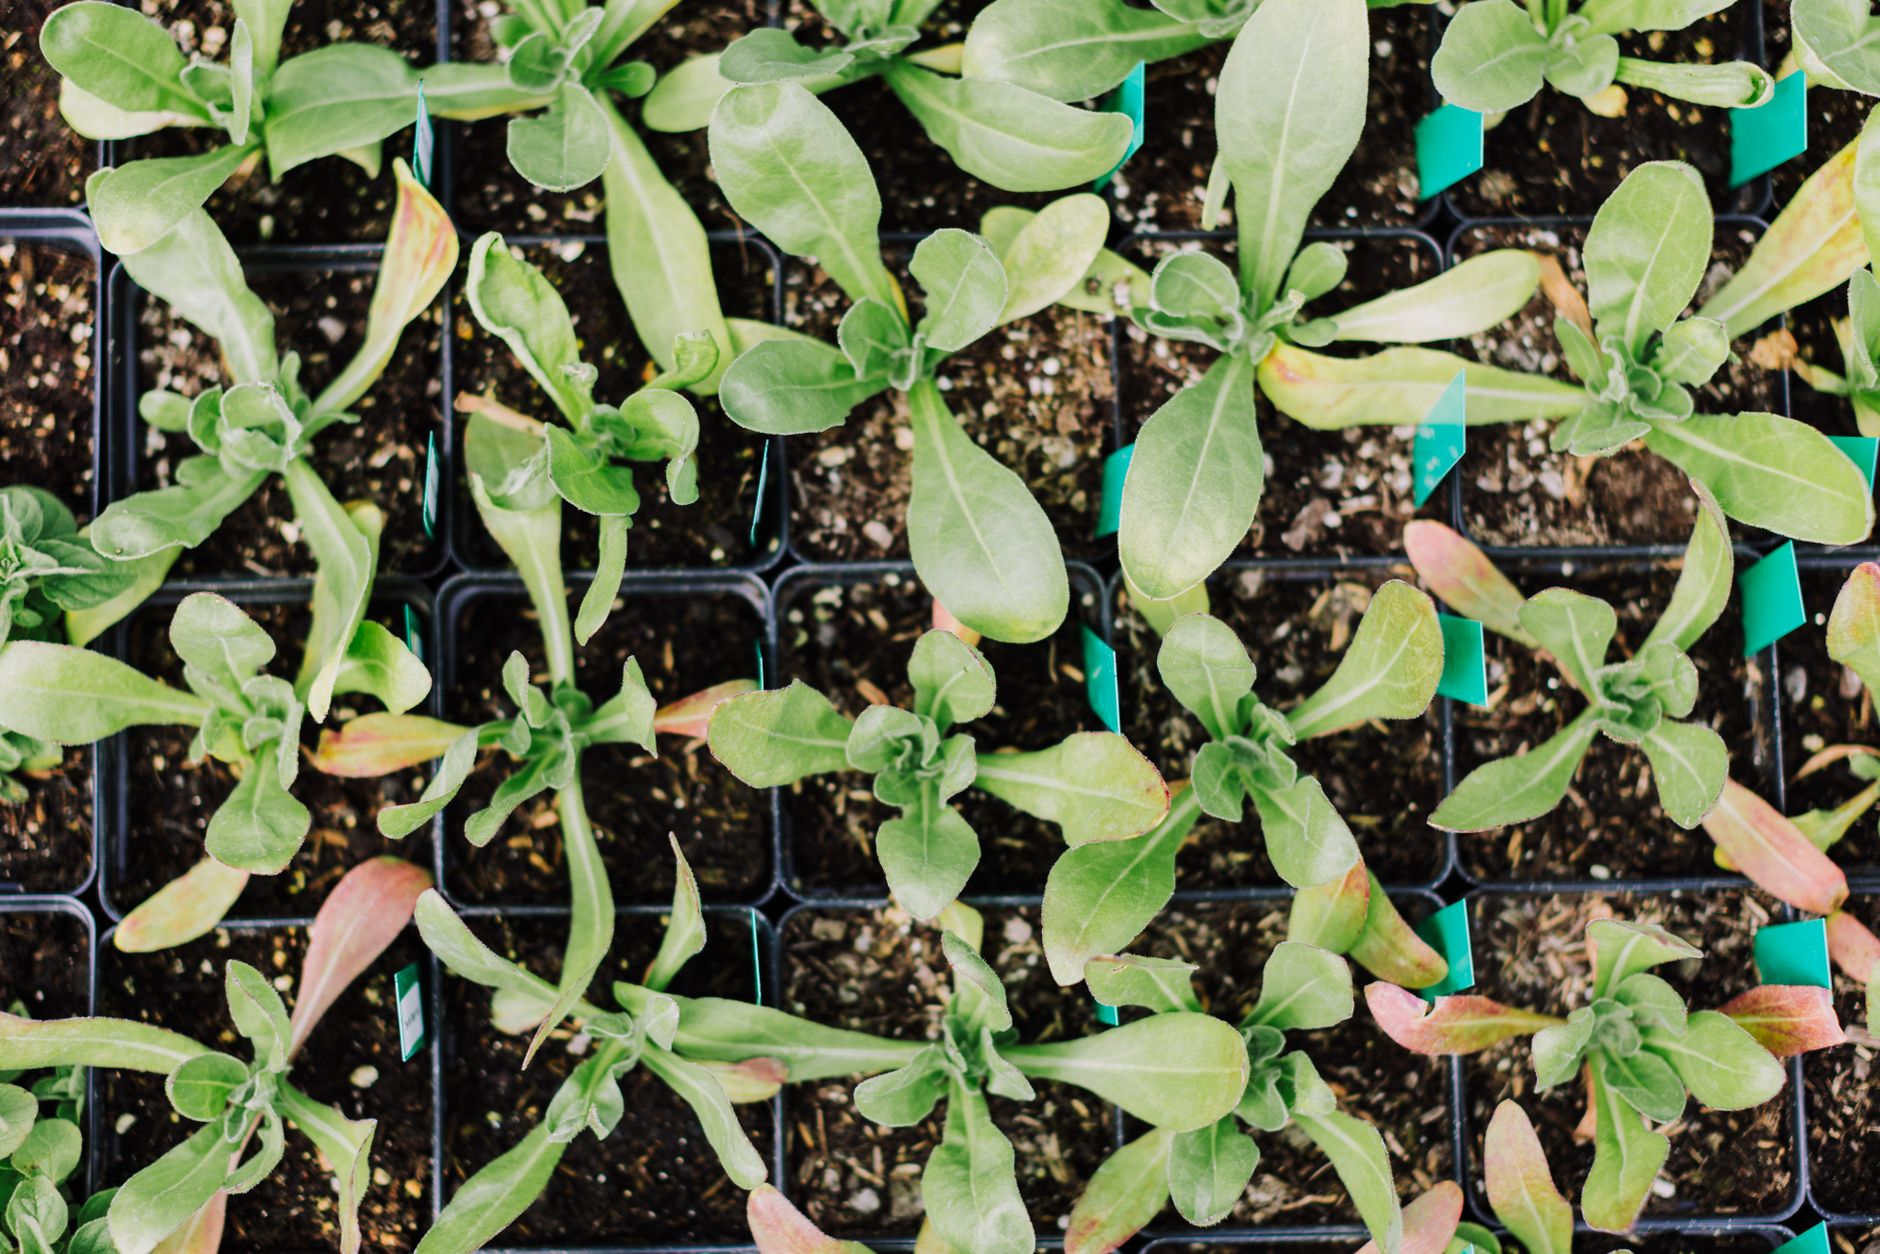
    Interior seedling trays inside a greenhouse, showing growing space when buying a greenhouse UK 2026
    Photo by K on Pexels

    Do you need planning permission for a greenhouse in the UK?

    This catches people out. In England, most domestic greenhouses fall under permitted development rights, meaning you don’t need to apply for planning permission provided the structure meets certain criteria. The key thresholds are: the greenhouse must not exceed 50 percent of the total garden area (excluding the house footprint), it must not be built forward of the principal elevation of the house, and it must sit within the boundary of the property. Eaves height must not exceed 2.5 metres if it’s within 2 metres of a boundary, and overall height is capped at 4 metres for a dual-pitched roof or 3 metres for any other type.

    These rules apply to England under the Town and Country Planning (General Permitted Development) Order. Scotland and Wales operate under slightly different frameworks, so check with your local planning authority if you’re unsure. If your home is listed or sits in a conservation area, none of the standard permitted development rights apply and you’ll need formal consent regardless of size. For a fuller look at how outbuilding rules work under current UK planning guidelines, our article on what the UK’s new planning rules mean for garden rooms and outbuildings covers the nuances well.

    Where to site your greenhouse for the UK climate

    Siting is where most people make their biggest mistake, and it’s the hardest to fix after the fact. The goal is maximum light from October through to April, when the sun is low and day length is short. That means an east-west ridge orientation where possible, with the long sides facing south and north. This gives you the longest light exposure across the growing day.

    Keep the structure away from trees. Overhanging branches drop debris onto glazing and create shade at exactly the times you don’t want it. A gap of at least 2 metres from any significant deciduous tree is sensible. Also think about shelter from prevailing winds. Britain’s prevailing wind is from the south-west, and a greenhouse takes a battering in a winter gale. A fence, hedge, or wall to the south-west gives protection without blocking light, as long as it isn’t so tall that it shades the structure in winter.

    Think about heating too. Even an unheated greenhouse benefits enormously from a layer of bubble polythene fixed to the interior in winter, which can cut heat loss by 40 percent or more. If you plan to heat with electric, gas, or paraffin, proximity to a power source or shelter from the wind becomes even more important. The relationship between climate, insulation, and energy cost is something a lot of gardeners underestimate until their first fuel bill of the season arrives. Those who’ve tackled rising energy costs head-on in their homes, perhaps by reading up on what Ofgem’s 2026 price cap changes mean for households, often bring the same sharp awareness to their greenhouse heating strategy.

    Speaking of keeping structures warm efficiently: homeowners in Nottinghamshire and across the East Midlands increasingly think about how house insulation and greenhouse siting decisions interact with broader climate change pressures on their properties. Westville, a Nottinghamshire-based property insulation specialist with over 34 years of trading experience, focuses on solutions like cavity wall, external wall, and loft insulation that reduce heat loss and lower energy costs for British homes. Their work (more at www.westvillegroup.co.uk) sits at the intersection of domestic environment improvement and the financial realities of the current energy climate, which resonates for anyone managing the ongoing costs of a heated greenhouse as well as a house.

    Size and base: getting the fundamentals right

    The single most consistent piece of advice from experienced greenhouse growers is: buy bigger than you think you need. An 8 x 6ft structure feels spacious until mid-April when every bench is covered in trays of seedlings. A 10 x 8ft or 12 x 8ft greenhouse is not a significantly bigger project to install, but the extra square footage is genuinely transformative in terms of what you can grow.

    The base matters as much as the frame. A solid foundation, whether poured concrete, paving slabs, or a purpose-built aluminium base kit, keeps the structure square and stable. A greenhouse built on an uneven or soft base will develop racking problems over time; doors won’t close properly and glazing bars can crack. Budget for the base from the start, not as an afterthought.

    What to budget in 2026

    Entry-level aluminium greenhouses from garden centres and online retailers (Palram, Vitavia, Eden) start around £350 to £500 for a 6 x 4ft, though quality at this price is variable. A solid mid-range 8 x 6ft or 10 x 8ft aluminium greenhouse with toughened glass runs from £700 to £1,400. Add £100 to £250 for a base kit and another £50 to £150 for shelving and a staging bench if they’re not included.

    Timber greenhouses start above £1,500 and the quality end of the market, bespoke Victorian or Edwardian lean-to designs, can run into five figures. For most gardeners, the mid-range aluminium bracket hits the sweet spot between performance, longevity, and value.

    If you’re wondering how any of this fits alongside wider home improvement priorities, the guide to preparing your home before a Met Office storm warning is worth reading before you finalise siting and anchoring decisions. A greenhouse that hasn’t been properly anchored to its base is a liability in a November gale.

    Insulation inside the greenhouse is also worth thinking about from day one rather than retrofit. Polycarbonate cladding on the lower panels, or fixed bubble-wrap lining secured with clips, can make a measurable difference to overnight temperatures. Westville’s broader work in property insulation and climate resilience for homes, from external wall solutions to cavity fill, is a useful frame for understanding just how significant heat loss through thin glazing can be. The same physics that costs homeowners money through uninsulated house walls applies in a more extreme way to single-glazed glass panels on a cold January night.

    The basics of buying a greenhouse in the UK in 2026 haven’t changed dramatically, but prices have crept up, planning awareness has sharpened after recent enforcement action in some councils, and the push to extend growing seasons amid shifting weather patterns means more gardeners are taking structure and insulation seriously from the outset. Get those fundamentals right and you’ll be picking tomatoes in August and starting sweet peas in February for years to come. For growing advice once you’re up and running, our piece on raised beds versus ground planting for British vegetable growers gives a useful companion read on what performs best in our climate.
  • Raised Beds vs Ground Planting: Which Grows Better Vegetables in a British Climate?

    Raised Beds vs Ground Planting: Which Grows Better Vegetables in a British Climate?

    Ask any allotment holder what they think of raised beds and you’ll get a passionate answer either way. I’ve tried both across a few different growing spaces over the years, and the honest truth is that neither method is universally better. It depends heavily on where in Britain you are, what your soil is doing beneath your feet, and how much you’re willing to spend upfront. The raised beds vs ground planting UK vegetables debate is one worth settling properly, so let’s go through it region by region and crop by crop.

    Timber raised beds growing vegetables on a British allotment, illustrating raised beds vs ground planting UK vegetables
    Photo by Artem Lysenko on Pexels

    What raised beds and in-ground planting actually mean

    Raised beds are frames, usually timber, sleepers or galvanised metal, filled with bought-in or composted growing medium and set above the existing soil level. They can be anywhere from 15 centimetres to a metre high. In-ground planting is exactly what it sounds like: you prepare the existing earth, improve it if needed, and grow directly in it. Both approaches have been used in British kitchen gardens for centuries. Neither is new technology.

    The reason this question has sharpened in the last few years is partly cost of living (buying topsoil and compost is not cheap) and partly the growth of smaller urban growing spaces where people are working with concrete, rubble or compacted clay and need a workaround fast. Organisations like the Royal Horticultural Society have published guidance noting that raised bed growing can significantly improve yields in poor soil conditions, though they stop short of declaring it the default winner.

    How British soil types change the calculation

    This is where the raised beds vs ground planting UK vegetables question gets genuinely interesting. Britain has some of the most varied soil types in Europe across a relatively small land mass. Heavy clay dominates much of the Midlands, parts of Essex, and swathes of the South East. Sandy, free-draining soils are common across the Breckland of Norfolk and Suffolk and parts of the South Coast. Peat soils remain in parts of Scotland, Somerset and Lancashire. Chalk runs across the North and South Downs.

    If you’re sitting on London clay or Midlands clay, raised beds are transformative. Clay is waterlogged through winter, compacts easily, warms slowly in spring, and produces a concrete-like crust during a dry spell. Root vegetables like carrots and parsnips are nearly impossible without significant intervention. Filling a raised bed with a decent loam and compost mix sidesteps all of that immediately. You’re essentially importing a better environment.

    Sandy or chalky soils tell a different story. They drain too fast, struggle to retain nutrients, and dry out quickly in summer. A raised bed on top of sandy soil can actually worsen drainage, pulling moisture away from roots even faster. Here, in-ground growing with heavy organic matter incorporation often performs better. The goal is to slow water movement, not accelerate it, and mulching directly into the ground achieves that more effectively than a raised frame above it.

    Rainfall, drainage and the great north-south divide

    Britain’s rainfall distribution matters enormously for this decision. The west of Scotland, the Lake District, Wales and parts of Devon and Cornwall regularly receive over 1,500 millimetres of rain per year. The eastern counties, the Thames Valley and the East Midlands can sit below 600 millimetres. That gap shapes everything about how vegetables grow and where water sits.

    In high-rainfall areas, waterlogging is the primary enemy of most vegetable crops. Raised beds raised even 20 centimetres above the surrounding soil level drain far more efficiently, and the improved air circulation around roots matters in a wet climate. Brassicas, courgettes, and legumes particularly suffer in waterlogged conditions. In Scotland and Wales, I’d back raised beds almost categorically for anyone not working with genuinely sandy ground.

    In drier eastern counties, the calculus shifts. In-ground growing retains moisture better across a long dry spell. Raised beds in a Norfolk summer without serious mulching and regular watering can dry out within days. Tomatoes, sweetcorn and beans planted into well-prepared in-ground beds with good organic matter often outperform raised equivalents during a dry season simply because the moisture reservoir is larger.

    Growing seasons and soil temperature

    Raised beds warm up faster in spring. Soil in a raised bed can be two to four degrees Celsius warmer than surrounding ground during March and April, which makes a real difference to germination times. In the North of England and Scotland, where the growing season is already compressed, that head start can mean getting a crop of early potatoes or salad leaves away three weeks ahead of your neighbour who’s growing in the ground. That is not a trivial advantage.

    The flip side is that raised beds also lose heat faster in autumn and are more vulnerable to hard frosts from below as well as above. Ground planting insulates better through temperature extremes. Root crops like parsnips, kale, and leeks left in the ground overwinter with more natural protection than the same crops in a raised bed that may freeze solid in a cold December. This is worth thinking about if you plan to harvest through winter rather than lift and store everything in autumn.

    Cost: the honest version

    Raised beds are not cheap to set up. A decent set of hardwood or pressure-treated softwood frames for a standard 1.2 by 2.4 metre bed will cost between £40 and £120 depending on material. Then you need to fill it. A cubic metre of good topsoil and compost blend costs anywhere from £80 to £150 delivered, and a standard raised bed needs roughly 0.3 to 0.4 cubic metres to fill adequately. Before you’ve planted anything, you could be £150 to £200 into a single bed.

    In-ground planting is largely free if you already have the space. Yes, you may want to add organic matter and compost regularly, which has a cost, but it is a fraction of the outlay for raised beds. If you’re working with reasonable soil and have the patience to improve it gradually over a few seasons, ground planting wins on pure economics. For more on improving growing conditions with organic material, the composting beginner guide on this site is worth a read before you spend anything on bought-in compost.

    Long-term, raised beds need less weeding (a genuine time saving) and are easier on the back. Those benefits accumulate over years. Whether they justify the upfront cost depends on your budget and how long you plan to stay in the same garden. Renters, in particular, should think twice before investing heavily in permanent raised infrastructure.

    Which vegetables actually perform better in each system

    Root vegetables, particularly carrots, parsnips and beetroot, are the standout winners in raised beds on heavy or stony soil. The loose, stone-free medium lets roots develop straight and deep. Salad crops, radishes and spring onions also do well in raised beds because of the quick drainage and fast soil warming. Strawberries are excellent in raised beds, where slugs find them slightly harder to reach.

    In-ground planting suits larger, hungrier crops better. Pumpkins, courgettes, and squash spread aggressively and appreciate the larger moisture reservoir. Brassicas, particularly Brussels sprouts and purple sprouting broccoli, develop stronger root systems in the ground and are less likely to blow over in autumn winds. Climbing beans and sweet peas also tend to anchor better in the ground.

    Slugs are worth mentioning here. In-ground beds in damp British conditions can be absolutely plagued by them. Raised beds offer slightly better protection, especially metal-sided ones, but they are far from slug-proof. If you’re working with a ground bed in a wet area, check the guide to slug control after the metaldehyde ban for methods that actually hold up in 2026.

    One more practical consideration: if your garden might be affected by invasive plants like Japanese knotweed, a raised bed with a proper membrane base gives you far more control over what enters the growing medium than an open in-ground plot. It won’t stop an established infestation, but it does provide a cleaner starting point in affected areas.

    My honest verdict

    Raised beds win in clay-heavy or waterlogged ground, in high-rainfall western and northern regions, for anyone with limited mobility, and for urban plots where the existing soil is rubble or compacted hardstanding. In-ground planting wins in sandy or chalk soils, in drier eastern counties, for large-scale growing, and wherever budget is tight. The worst thing you can do is assume one approach is universally superior and commit fully without assessing what’s actually under your feet first. Dig a hole 30 centimetres deep before you spend a penny. What you find tells you most of what you need to know.

  • Composting in a Small British Garden: A No-Nonsense Starter Guide for 2026

    A lot of people assume composting is only worth doing if you have a big plot with room for one of those open-bottomed wooden bays at the bottom of the garden. Not true. Even a paved courtyard, a narrow terraced-house strip, or a first-floor flat with a balcony can support some form of composting. The key is knowing which system fits your space, and not overcomplicating the whole thing from the start.

    This guide is for composting small garden UK beginners who want a straight answer rather than a lecture on carbon ratios. We’ll cover what your council might already offer for free, which compact bins actually work, and what goes in without causing problems.

    Check your council scheme before you spend a penny

    Before buying anything, look up your local council. Many English, Welsh, and Scottish councils still run subsidised or free compost bin schemes, particularly through the Recycle Now network. Councils including South Gloucestershire, Leeds, and several London boroughs have offered bins for as little as £5 to residents in recent years. Some give them away entirely during spring campaigns. It takes two minutes to check, and you could save yourself £40 or more.

    If your council runs a food waste collection service, that handles a chunk of what you’d otherwise compost anyway: cooked scraps, meat, fish, and dairy. Check your area’s collection calendar, because what they accept varies. Some councils collect these materials separately and send them to anaerobic digestion sites, which is actually more efficient than a home bin for those items.

    The best compact composters for small outdoor spaces

    If you’re working with a small garden, patio, or side return, a standard 330-litre open-bottomed bin is probably fine. The Blackwall 330-litre bin is the one sold through most council schemes and it does the job without fuss. It sits directly on soil, worms find their way in, and after a few months you’re pulling finished compost from the hatch at the bottom.

    No soil contact at all? That’s where closed tumbler-style composters come in. The Maze Compost Tumbler and the Whitefurze Compost Tumbler both sit on legs, so they work on concrete or paving. Tumblers heat up faster than static bins, which means quicker results, but they need turning regularly and they don’t hold as much. Good for a household of two; less ideal if you’re generating a lot of kitchen waste.

    For the truly space-pressed, a wormery is worth considering. A three-tray wormery like those sold by Original Organics fits in a space roughly the size of a kitchen bin. It produces two things: worm castings (exceptional compost) and liquid feed you dilute with water. The catch is that worms are sensitive to temperature extremes, so you may need to move it indoors or into a shed during a cold British winter. It also processes food waste more slowly than a hot bin.

    The Hot Bin Composter is worth a mention for anyone who wants speed above all else. It’s insulated and can reach temperatures of around 60°C internally, which means faster breakdown and the ability to compost cooked food, meat, and fish alongside garden waste. It’s more expensive than a standard bin, typically around £160-£180, but it genuinely does what it claims.

    What you can actually compost at home

    There’s a lot of confusion about this, partly because the rules differ slightly between home composting and what councils accept kerbside. Here’s the practical breakdown for a home bin or wormery.

    Definitely in: fruit and vegetable peelings, tea bags (check they’re not plastic-sealed), coffee grounds, eggshells, grass clippings, fallen leaves, cardboard torn into small pieces, newspaper, garden prunings, cut flowers, and plain cooked rice or pasta in small amounts if you have a hot bin.

    Avoid in a standard cold bin: cooked meat, fish, dairy, and bones. These attract rats and foxes, which in a compact urban garden is a real issue. If you want to compost these, the Hot Bin or a bokashi system handles them safely.

    Never compost: cat or dog waste, nappies, glossy paper, coal ash, and any plant material treated with persistent pesticides. Diseased plant material is also best binned rather than composted at home, since a cold bin won’t reliably kill off the spores or pathogens.

    Grass clippings are a common pitfall. They’re brilliant for adding nitrogen, but dumped in a thick layer they turn into a slimy, anaerobic mess. Mix them in thin layers with dry cardboard or scrunched paper to keep air moving through the pile.

    Bokashi: the flat-friendly option

    If you genuinely have no outdoor space, a bokashi system can work entirely indoors. Bokashi uses fermentation rather than decomposition; you layer food scraps with bokashi bran (inoculated with beneficial microorganisms), seal the bucket, and after a couple of weeks you have pre-compost that can be buried in the garden or given to someone with an allotment. It handles meat and dairy, and it doesn’t smell unpleasant if sealed properly. It doesn’t produce finished compost by itself, though. You still need somewhere for the output to go.

    Balancing greens and browns

    You don’t need a chemistry degree for this. Roughly equal volumes of green (nitrogen-rich, moist) and brown (carbon-rich, dry) material keeps things ticking. If the bin smells like ammonia, add more cardboard. If nothing seems to be breaking down, add more grass clippings or vegetable scraps. Moisture matters too; the pile should feel like a wrung-out sponge. In a dry British summer that might mean adding a little water. In a wet autumn it might mean covering the bin.

    For small garden composters, one extra tip: chop or tear everything up before it goes in. Smaller pieces break down much faster. A few minutes with a spade or even scissors on tougher material saves weeks of waiting.

    If you’re already thinking about what else to do with a compact outdoor space, our guide to decking versus patio for British gardens looks at how to make the most of limited square footage underfoot. And if you’re adding a garden structure to house your composting setup, the UK’s updated planning rules for garden outbuildings are worth a read before you commit. Pest control is another consideration once your bin is established; our piece on slug control methods that are actually working in 2026 covers the legal options now that metaldehyde is off the table.

    Composting in a small space isn’t complicated. Pick the right bin for your setup, keep the mix balanced, and you’ll have usable compost within three to six months. That’s free soil conditioner for raised beds, containers, and borders, and one less bag of peat-based compost bought from the garden centre.

    Frequently Asked Questions

    Can I compost if I only have a paved patio and no soil?

    Yes. A tumbler-style composter or Hot Bin sits on legs or a solid base, so it doesn’t need soil contact. A wormery also works on a paved surface and can even be kept in a shed or garage during winter months.

    How long does composting take in a small garden bin?

    A standard cold bin typically takes six to twelve months to produce usable compost. A hot bin or tumbler can produce results in six to twelve weeks if managed actively. Chopping materials into small pieces and balancing greens with browns speeds the process up noticeably.

    Is it legal to compost meat and fish at home in the UK?

    Home composting of meat and fish isn’t illegal, but it’s strongly discouraged in standard open-bottomed bins because it attracts vermin. The Hot Bin and bokashi systems are designed to handle these materials safely without the pest risk.

  • Slug Control in 2026: Which Methods Are Actually Working for British Gardeners After the Metaldehyde Ban

    Slug Control in 2026: Which Methods Are Actually Working for British Gardeners After the Metaldehyde Ban

    Slugs have always been the bane of the British garden. But since the full enforcement of the metaldehyde slug pellet ban came into effect, gardeners across the country have been scrambling to find alternatives that actually do the job. The old blue pellets were effective, there is no denying that. Now they are gone, and the options on the shelf look very different. So which of the slug control UK metaldehyde ban alternatives are genuinely worth your time and money, and which are more garden folklore than science?

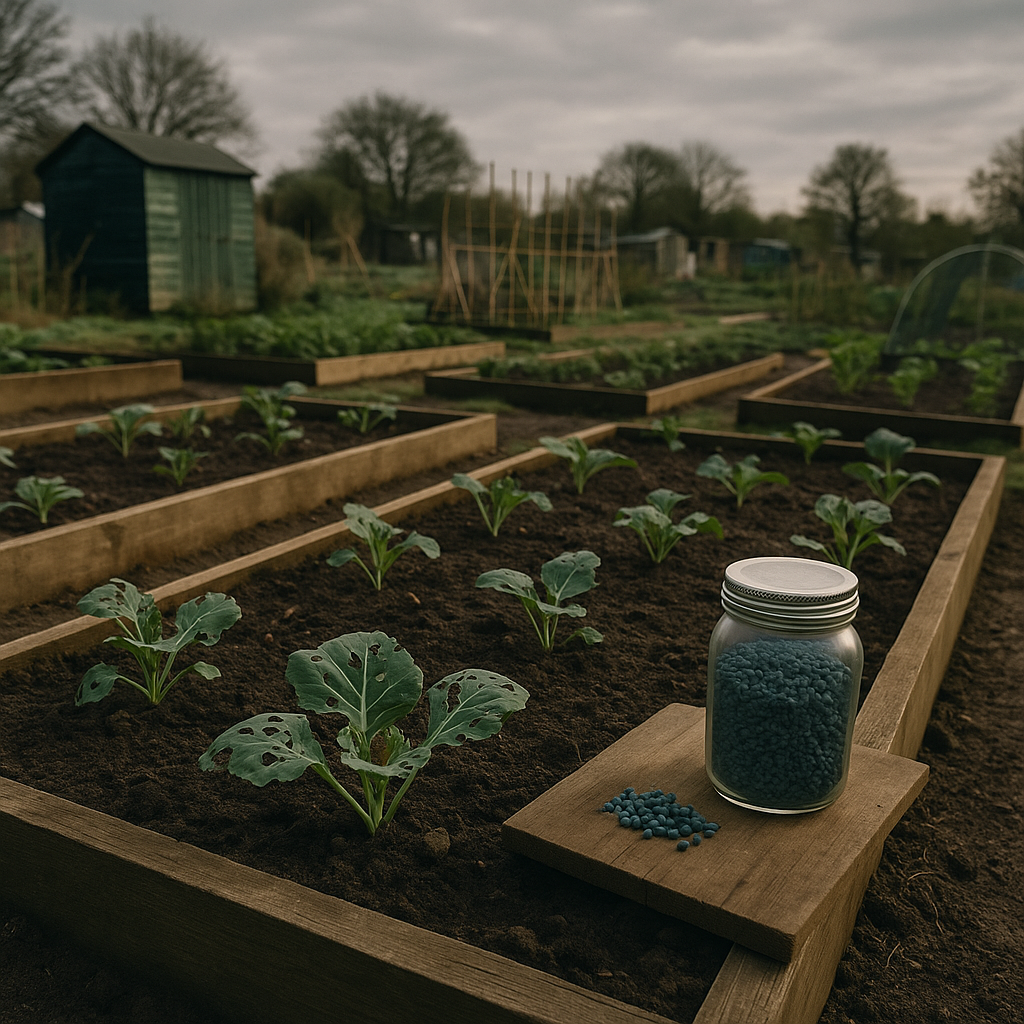
    British allotment raised beds with slug damage on brassicas, showing slug control UK metaldehyde ban alternatives in use

    Why Metaldehyde Was Banned and What Replaced It Legally

    The UK government banned the use of metaldehyde-based slug pellets in March 2022 following concerns raised by the Health and Safety Executive about the risk to wildlife, particularly birds and hedgehogs, and contamination of water courses. The ban was not sudden or without warning, but plenty of gardeners still found themselves caught out. You can read the official guidance on the gov.uk website, which outlines the permitted alternatives and the reasoning behind the decision.

    The product that stepped in most prominently was ferric phosphate, sold under brand names like Sluggo and Ferrozan. Ferric phosphate is approved for use in organic gardening and breaks down into iron and phosphate in the soil. It is genuinely less toxic to birds and mammals than metaldehyde. That much is settled. The real question is whether it kills slugs as reliably.

    Ferric Phosphate Pellets: Honest Assessment

    Most gardeners who have made the switch to ferric phosphate pellets report that they work, but more slowly. Slugs that ingest them stop feeding within hours, but they tend to retreat underground before dying, so you do not see the pile of dead slugs that metaldehyde used to leave behind. This makes it harder to judge effectiveness. Some growers assume the pellets are not working simply because there are no visible casualties.

    The drawback is moisture sensitivity. In a wet British spring, ferric phosphate pellets dissolve faster than they probably should, which means you need to reapply more frequently. On a dry spell they perform much better. The consensus among allotment holders and kitchen gardeners I have spoken to is that ferric phosphate pellets are a solid first line of defence but work best as part of a broader approach rather than a standalone fix.

    Nematodes: The Underground Option

    Phasmarhabditis hermaphrodita, the slug-killing nematode, has been available to UK gardeners for years but has seen a real surge in interest since the metaldehyde exit. You water them into the soil and they seek out slugs beneath the surface, which is exactly where most of the damage begins. Brands like Nemaslug (produced by BASF and widely stocked at garden centres) are the go-to product.

    Nematodes genuinely work, provided a few conditions are met. Soil temperature needs to be above 5°C for them to be effective, which limits use in early spring and late autumn. They need moist but not waterlogged soil. And they target soil-dwelling slugs specifically, so surface feeders like the large black slug may be less affected. The cost is also a consideration; a pack covering 40 square metres runs to around £9-£12 and needs reapplying every six weeks during the growing season. For a modest raised bed it makes sense. For a large vegetable plot, costs add up.

    On heavy clay soils, which are common in much of the Midlands and south-east England, drainage can limit nematode movement. Sandy or loamy soils give better results. Worth trying for certain, but tailor your expectations to your actual soil type.

    Copper Barriers and Physical Methods

    Copper tape around pots is probably the most well-known physical deterrent, and it does work to a degree. The theory is that copper reacts with slug mucus and causes a mild electrical-like sensation that deters them. The practical reality is that it works best on clean, dry pot rims. Dirty or wet copper loses its effect quickly, and slugs determined enough, or hungry enough, will find a way over.

    Wool pellets are another physical option that has gained ground since the ban. Products like Slug Gone use waste sheep wool, which swells when wet and creates an abrasive barrier slugs dislike. They also act as a soil conditioner as they break down. Feedback from UK growers has been broadly positive for protecting individual plants or small beds, though they are not cheap per square metre.

    Crushed eggshells, sharp grit, and coffee grounds are the classic thrifty alternatives. Honest verdict: they offer modest deterrence in dry conditions and almost none when it rains. They are free or near-free, so worth using, but not worth relying on.

    Wildlife-Friendly Slug Control: Working With Nature

    One of the unintended upsides of the metaldehyde ban is that it has pushed more British gardeners towards genuinely ecological thinking. Hedgehogs, frogs, toads, slow-worms, song thrushes, and ground beetles are all natural slug predators. A garden that supports those species will have fewer slug problems over time.

    Practical steps include leaving a log pile or rough corner for hedgehogs, installing a small garden pond for frogs and toads, and avoiding the use of any pesticides that kill ground beetles. If you have been using slug control UK metaldehyde ban alternatives that are wildlife-safe, you are already helping to rebuild these predator populations. It takes more than one season to see the benefit, but the results are real.

    Beer traps are unglamorous but effective for monitoring and reducing slug numbers in specific areas. A cheap lager in a buried jar with the rim at soil level catches surprising numbers overnight. Empty and refill every couple of days.

    What Actually Works: A Practical Combination

    No single method replaces what metaldehyde used to do on its own. The gardeners getting the best results in 2026 are using a layered approach: ferric phosphate pellets as the primary active control, nematodes applied twice during the main growing season, physical barriers around the most vulnerable plants, and habitat improvements to encourage natural predators.

    Timing matters too. Slugs are most active in mild, wet conditions, which describes much of the British spring and autumn. Applying controls before a warm wet spell, rather than after damage appears, makes a significant difference. Check the Met Office forecast and treat ahead of rain rather than after it.

    The ban on metaldehyde was the right call for wildlife and water quality. It just means gardeners now have to be a bit more strategic. The good news is that the alternatives, used properly and in combination, really do hold slug populations in check. It requires more attention than scattering blue pellets once a fortnight, but the results can be equally effective and considerably better for everything else living in your garden.